• The starting point for all lumbar screws is at the bisection of a line drawn horizontally from the transverse process with a line drawn vertically from the lateral border of the pars interarticularis. A burr is used to find the starting point, which will usually be a blush of cancellous blood.
Scoliosis Correction
Examination/Imaging
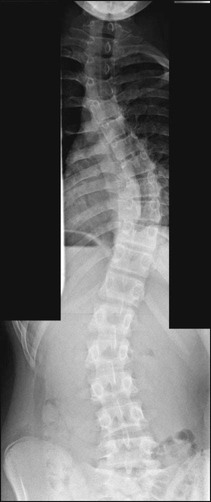
 Standing 36-inch posteroanterior (PA) (Fig. 1) and lateral spine radiographs are obtained.

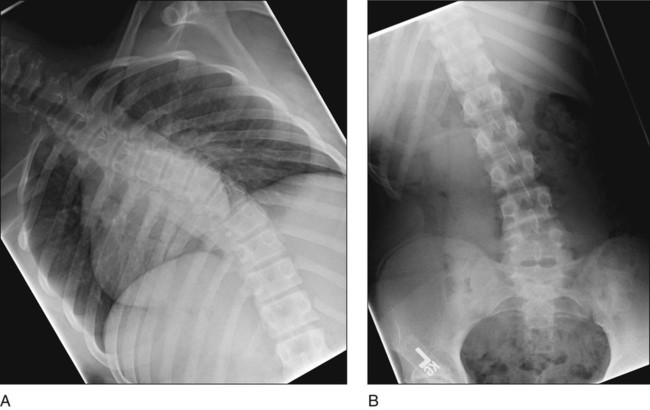
 Side-bending radiographs, such as the supine radiographs in Figure 2A and 2B, are also obtained.

 Magnetic resonance imaging for atypical curve patterns or neurologic findings
Surgical Anatomy
 The surgical anatomy for a posterior instrumented fusion is straightforward.
 The midline skin incision is followed by subperiosteal exposure of the posterior elements of the spine. Regardless of the location, this starts at the spinous processes and moves laterally over the laminae and facet joints out to the transverse processes.
 The facet orientation moves from the horizontal facets of the the thoracic spine, which are not elevated, to the vertically oriented and prominent facets of the lumbar spine.
Positioning
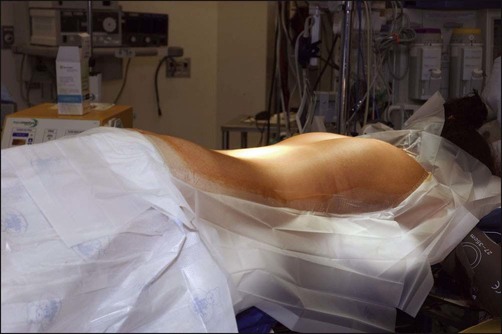
 The patient is placed supine on a radiolucent spinal frame (Fig. 3).

 Bolsters are placed at the level of the chest and at the level of the iliac crests. The abdomen remains free in order to facilitate venous return.
 The shoulders are placed in a slightly abducted position with the arms bent 90° on armboards, taking care to pad the ulnar nerve; the axilla should remain free of pressure. The hips are placed in approximately 20° of flexion with the knees flexed and legs slightly elevated on pillows.
 Somatosensory and motor evoked potential leads are placed accordingly.
Portals/Exposures
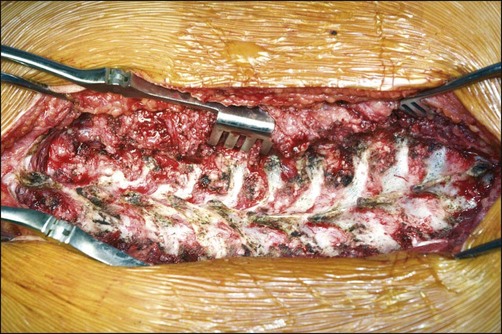
 A standard midline incision is made, with subperiosteal dissection of the paraspinal muscles off of the bony spine (Fig. 4).

 Cobb elevators, judicious use of electrocautery, and cell saver recycling suction apparatus are useful.
 Hypotensive anesthesia during exposure may facilitate a dry field with mean arterial pressures ranging from 65 to 70 mm Hg. Packing of areas with sponges after exposure helps facilitate the hemostasis.
 Relaxation of self-retaining retractors in areas of the wound that are not being operated on helps avoid muscle injury.
Procedure
Step 1
 After a thorough subperiosteal dissection of the posterior spine to the tips of the transverse processes, the next step is placement of pedicle screws.
 Screw placement is preferred at every level on both sides of the lumbar spine. Lumbar screws may be place by first perfoming a thorough facetectomy of the vertically oriented lumbar facet. The facet should be taken completely and leveled to be continous with the transverse process as this will facilitate screw placement.
![]()
Stay updated, free articles. Join our Telegram channel

Full access? Get Clinical Tree


57: Scoliosis Correction


