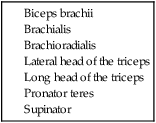
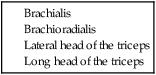
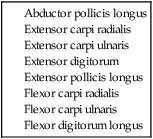
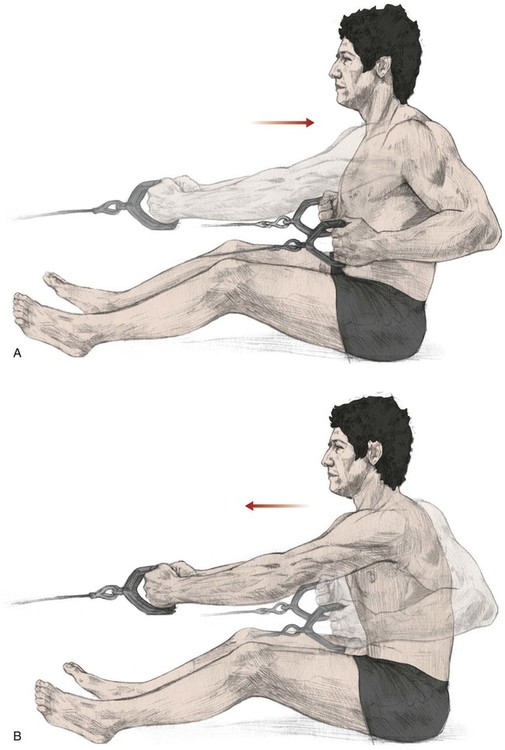
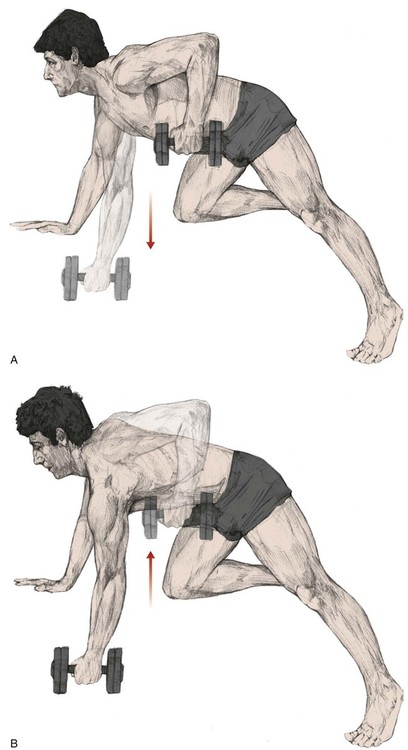
Chapter 4 Laboratory Activities Using a skeletal model, identify the following bony landmarks. The landmarks marked with an asterisk (*) can be palpated on a partner, and each landmark can also be located on the following images.† Students will use a piece of thin rubber tubing (or string) and a skeleton to mimic the overall line of force of muscles of the shoulder complex. By placing one end of the tubing at the proximal attachment of a muscle and the other end at the distal attachment, the muscle’s line of force can be observed. This is referred to as “stringing up” muscles. The purpose of this exer- cise is to understand the actions of muscles on the basis of their line of force relative to the axes of rotation at the joint. This approach encourages analysis rather than rote memorization of muscle action. To assist with this process, students should refer to the osteology section of Chapter 4, noting that proximal attachments of muscles are shown in red and distal attachments are shown in gray. The actual attachments of the muscles are listed within Chapter 4. 1) Which of the following statements is true regarding figure A? a) The scapulae are retracting. b) The anterior deltoid is elongating. c) The scapulae are protracting. d) The pectoralis major is concentrically contracting. 2) Which of the following statements is true regarding figure B? a) The rhomboids are concentrically contracting. b) The posterior deltoid is eccentrically active. c) The anterior deltoid is concentrically contracting. d) The latissimus dorsi is eccentrically active. 3) Which of the following statements is true regarding figure A? a) The pectoralis major is concentrically contracting. b) The latissimus dorsi is eccentrically active. c) The posterior deltoid is concentrically active. 4) Which of the following statements are true regarding figure B? a) The biceps brachii are active. b) The long head of the triceps is active. c) The serratus anterior is concentrically contracting. 5) This motion (at the shoulder) occurs around which axis of rotation? 6) In order for a muscle to perform the motion shown in figure A, its line of pull must be ____________ to the axis of rotation. 7) Provide two likely reasons that this motion can typically produce very large forces. 1) Using the images provided below and on pp. 4-8 and 4-9, identify the following muscles: 2) Palpate the inferior angle of your partner’s scapula while his or her arm is: a) resting at his or her side. Mark its position with a pen or wax pencil. b) abducted to 90 degrees—mark its position. This should demonstrate the upward rotation of the scapula. 3) Firmly stabilize the scapula while your partner attempts to fully abduct the shoulder. Roughly how much shoulder abduction has occurred? Why is it limited? 4) Track the motion of the scapula when performing the following motions. List the scapular motion that occurs next to the shoulder motion listed. b) Horizontal abduction ___________________ c) Abduction _________________ d) Adduction ___________________ 5) Using a goniometer, measure the amount of shoulder flexion available when the elbow is fully flexed versus when the elbow is fully extended. Which one allows the greatest range of motion into flexion? Why? 6) Analyze your partner performing a “seated boost” maneuver (sometimes called a “sitting push-up”) with the elbows fully extended throughout the motion. What are the primary muscles involved with this motion? Weakness of the serratus anterior is likely to result in “winging” during this motion. Why? Chapter 5 Laboratory Activities Using a skeletal model, identify the following bony landmarks. The landmarks marked with an asterisk (*) can be palpated on a partner, and each landmark can also be located on the following images.† Students will use a piece of thin rubber tubing (or string) and a skeleton to mimic the overall line of force of muscles of the elbow and forearm complex. By placing one end of the tubing at the proximal attachment of a muscle and the other end at the distal attachment, the muscle’s line of force can be observed. This is referred to as “stringing up” muscles. The purpose of this exercise is to understand the actions of muscles on the basis of their line of force relative to the axes of rotation at the joint. To assist with this process, students should refer to the osteology section of Chapter 5, noting that proximal attachments of muscles are shown in red and distal attachments are shown in gray. The actual attachments of the muscles are listed within Chapter 5. Refer to the images on p. 5-5. 1) Determine whether the following statements are true or false regarding the beginning position (part A) of the movement, and justify your answer. a) The long head of the triceps brachii is becoming maximally lengthened. True or False? Why? b) The brachialis is inactive. True or False? Why? c) The biceps brachii is concentrically contracting. True or False? Why? d) The lateral head of the triceps brachii is eccentrically active. True or False? Why? 2) Determine whether the following statements are true or false regarding part B, as the weight is being lowered. Justify your answer. a) The biceps brachii is maximally lengthened. True or False? Why? b) The brachioradialis is eccentrically active. True or False? Why? c) The long head of the triceps brachii is maximally shortened. True or False? Why? d) The lateral head of the triceps brachii is inactive. True or False? Why? 3) How do the biceps brachii and the long head of the triceps work “together” during this activity? 1) Using the images provided below and on p. 5-8, identify the following muscles: Biceps brachii 2) Perform a manual muscle test for elbow extension: Which position was able to produce the most force (resistance)? Why? 3) Have your partner hold the end of a dowel or a cane in one hand while pronating and supinating the forearm. Make sure that the shoulder is fixed so that it cannot assist with the action. Analyze the movement and determine the following: a) When are the forearm pronators concentrically active versus eccentrically active? b) When are the forearm supinators concentrically versus eccentrically active? c) Why is the supination portion of this activity likely to be stronger with the elbow flexed to 90 degrees, rather than with the elbow in near full extension? 4) With a wax pencil, trace the fiber direction of the interosseous membrane on your partner. If done correctly, you should be able to ascertain how compressive force through the hand and radius is transferred to the ulna. What structures exist to help prevent a pulling force on the hand and radius from pulling the radius out of joint? Chapters 6 and 7 Laboratory Activities Using a skeletal model, identify the following bony landmarks. The landmarks marked with an asterisk (*) can be palpated on a partner, and each landmark can also be located on the following images.† Students will be expected to use a piece of thin rubber tubing (or string) and a skeleton to mimic the overall line of force of all muscles of the wrist and hand. By placing one end of the tubing at the proximal attachment of a muscle and the other end at the distal attachment, the muscle’s line of force can be observed. This is referred to as “stringing up” muscles. The purpose of this exercise is to understand the actions of muscles on the basis of their line of force relative to the axes of rotation at the joint. This approach encourages analysis rather than rote memorization of muscle action. To assist with this process, students should refer to the osteology sections of Chapters 6 and 7, noting that in Chapter 7 proximal attachments of muscles are shown in red and distal attachments are shown in gray. The actual attachments of the muscles are listed within Chapters 6 and 7. 1) Using the images provided below, identify the following muscles. (Note that not all muscles are shown.) 2) With a goniometer, measure the active range of motion for wrist flexion with: 3) With a goniometer, measure the active range of motion for wrist extension with: Which scenario permits the largest range of motion? Why? 4) Using a hand dynamometer, measure grip strength with the wrist held in:
Laboratory Activities
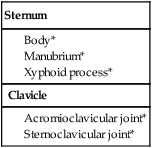
Structure and Function of the Shoulder Complex
Palpation and Identification of Selected Bones and Joints
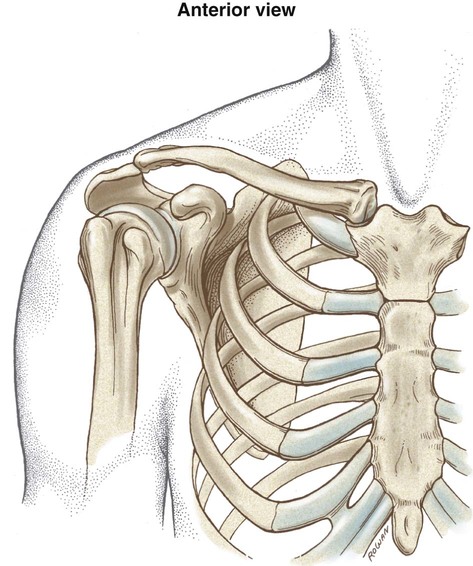
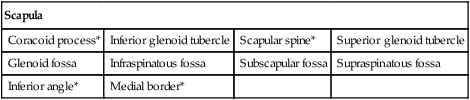
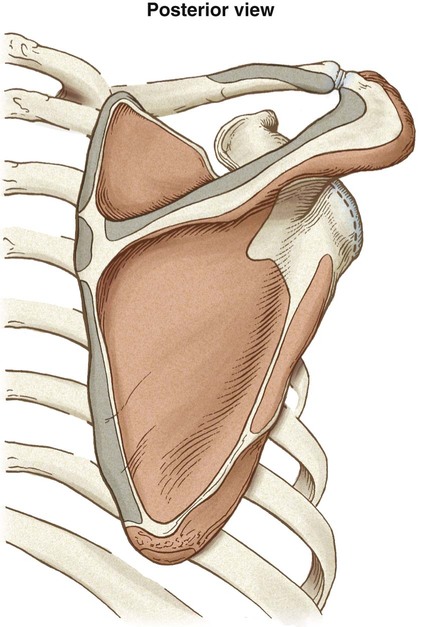
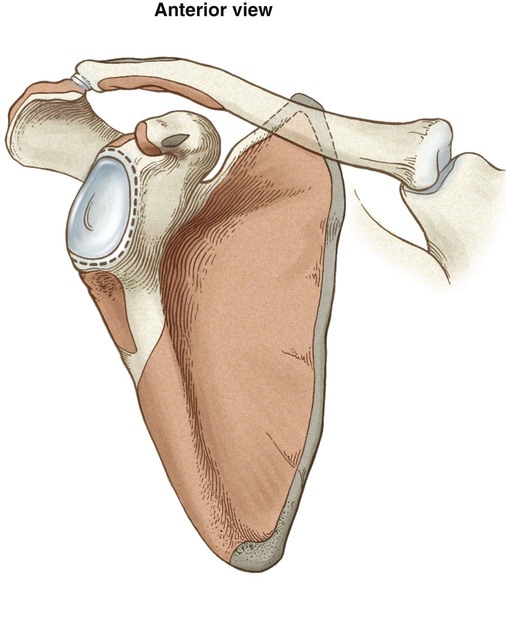
Scapula
Coracoid process*
Inferior glenoid tubercle
Scapular spine*
Superior glenoid tubercle
Glenoid fossa
Infraspinatous fossa
Subscapular fossa
Supraspinatous fossa
Inferior angle*
Medial border*
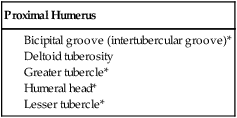
Proximal Humerus

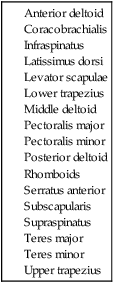
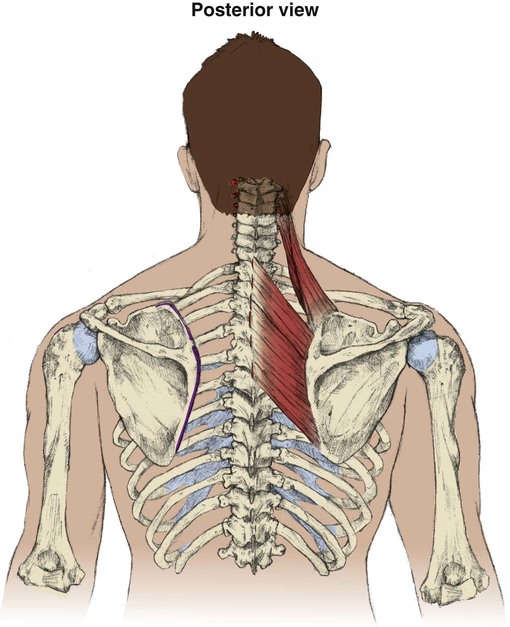
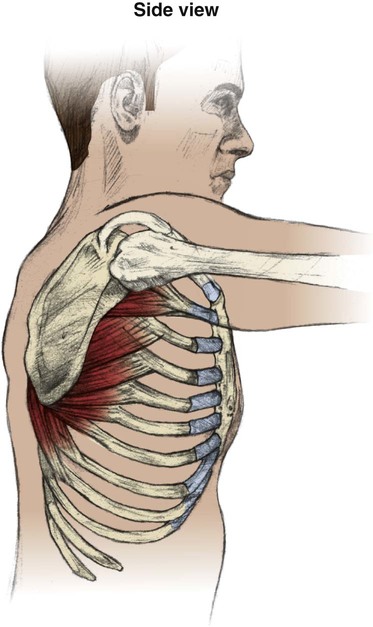
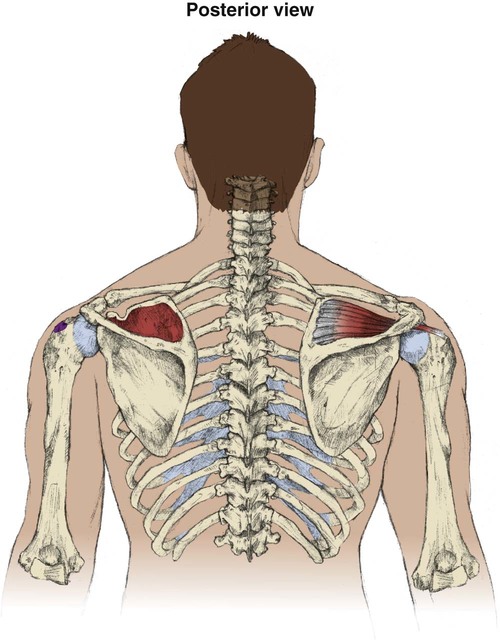
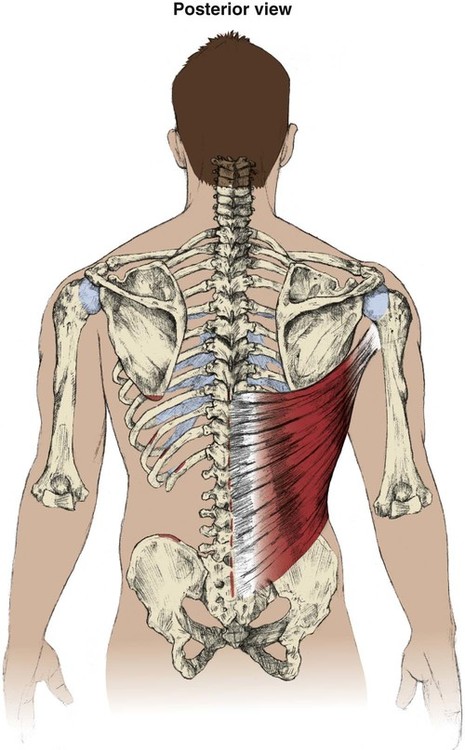
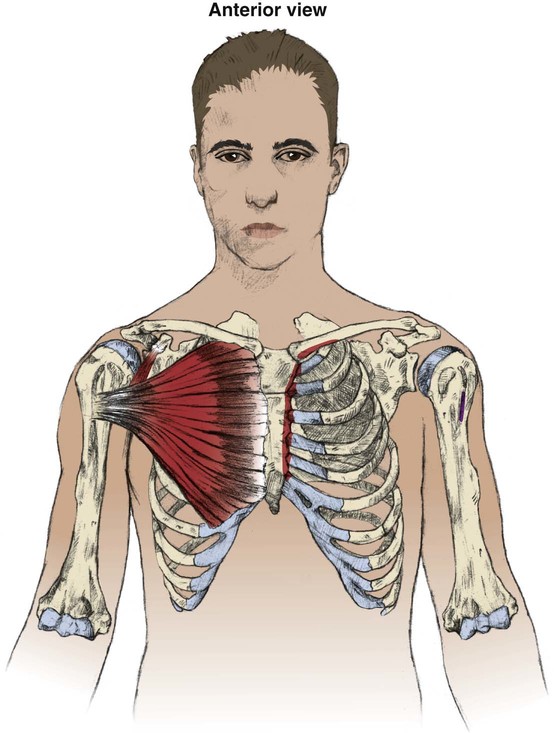
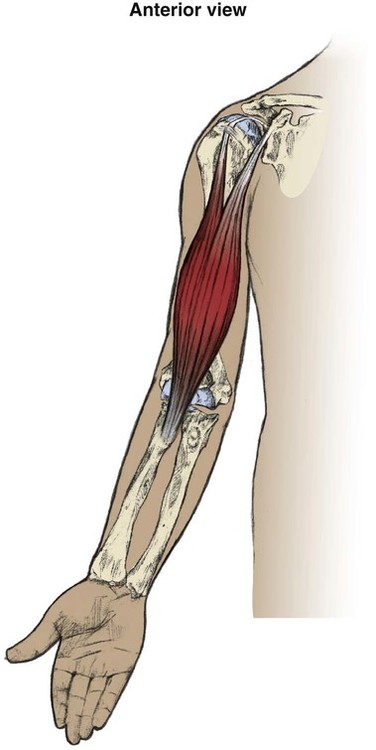
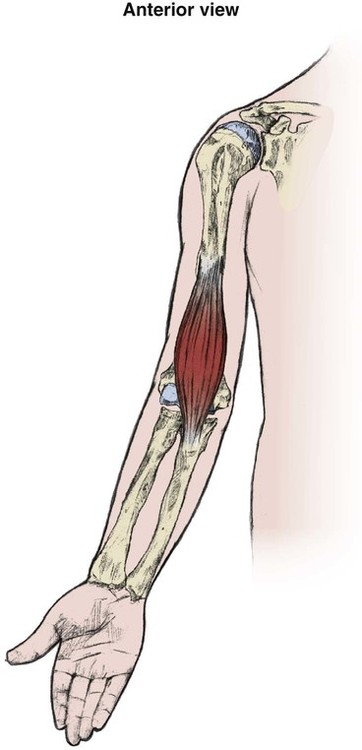
Muscle Analysis
Latissimus dorsi
Rhomboid minor
Levator scapula
Serratus anterior
Pectoralis major
Supraspinatus
Rhomboid major
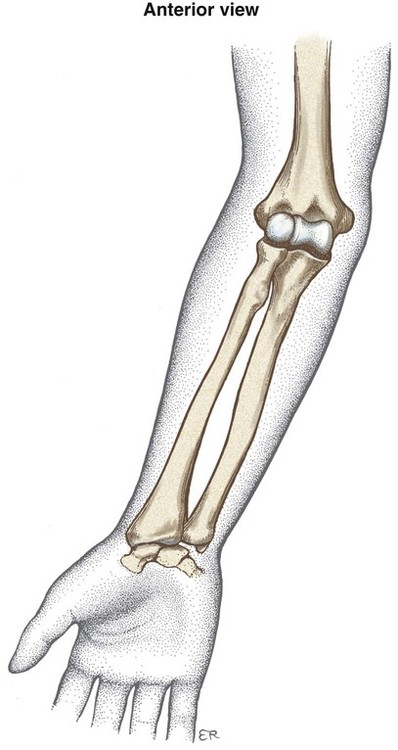
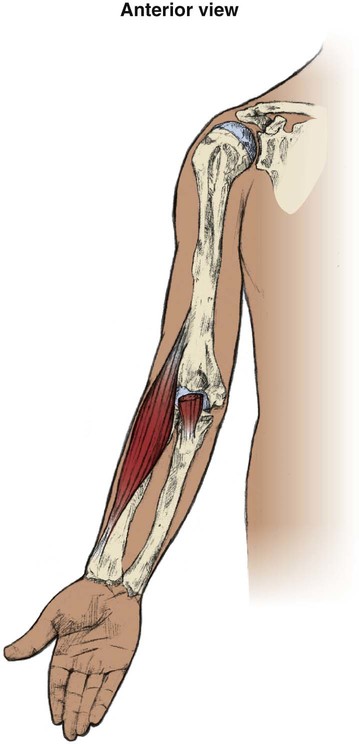
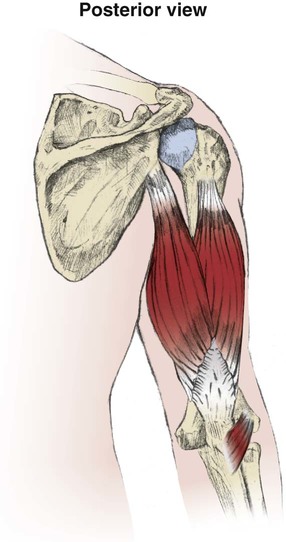
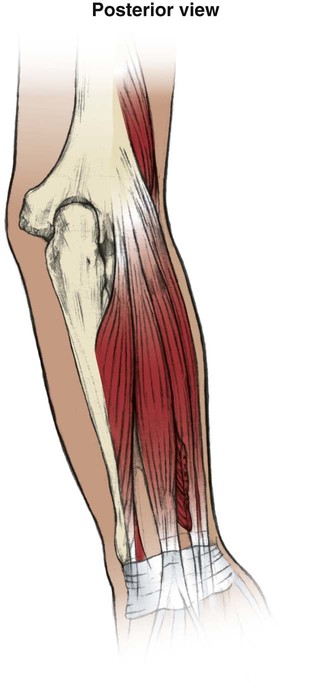
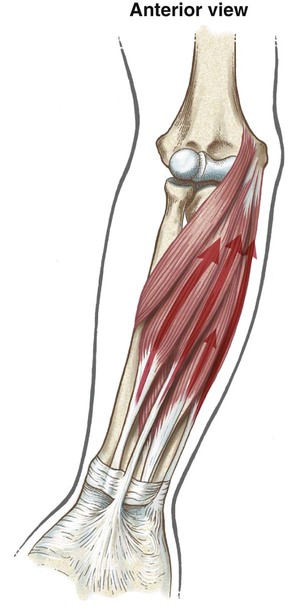
Structure and Function of the Elbow and Forearm Complex
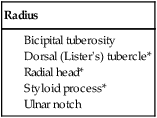
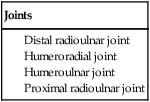
Palpation and Identification of Selected Bones and Joints
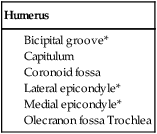
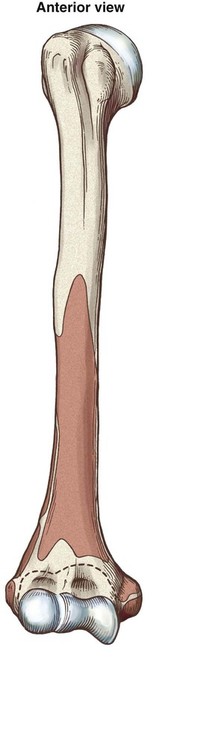
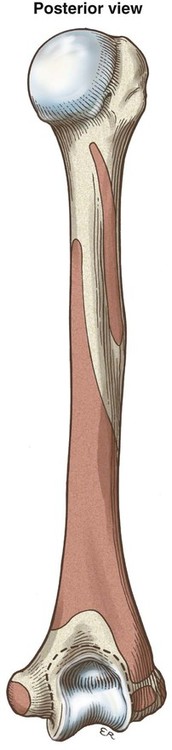
Humerus
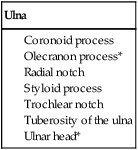
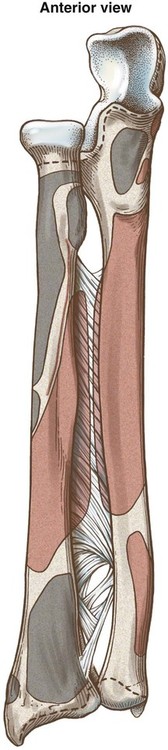
Ulna
Muscle Analysis
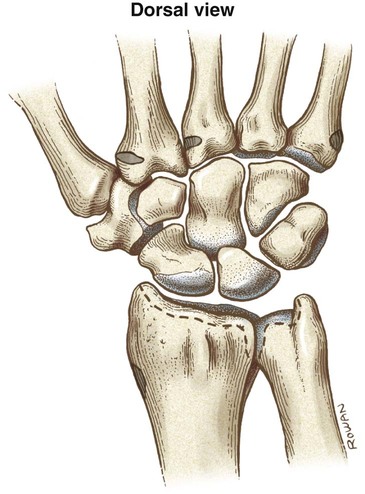
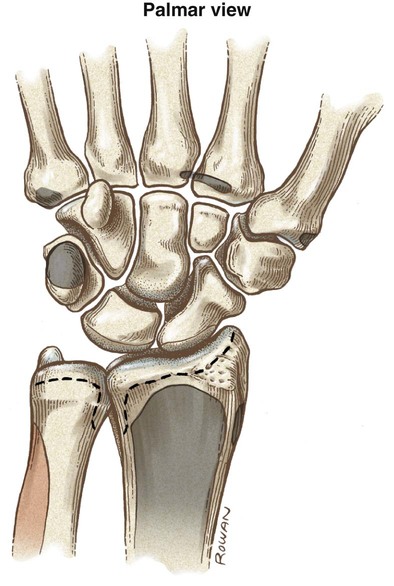
Structure and Function of the Wrist and Hand
Palpation and Identification of Selected Bones and Joints
Capitate*
Metacarpal heads*
Scaphoid*
Carpometacarpal joint of the thumb*
Pisiform*
Trapezium
Hamate
Radial styloid*
Trapezoid
Head of the ulna*
Radial tubercle*
Triquetrum
Lunate
Radiocarpal joint
Ulnar styloid process
Muscle Analysis
Extensor carpi radialis brevis
Flexor carpi radialis
Extensor carpi radialis longus
Flexor carpi ulnaris
Extensor digitorum
Palmaris longus
Related posts:
![]()
Stay updated, free articles. Join our Telegram channel

Full access? Get Clinical Tree


Laboratory Activities