(1)
Générale de Santé Hopital privé de, l’Estuaire, Le Havre, France
6.1 The Acromioclavicular
We believe that the principles listed in the preceding chapters allow us to take a step back and will provide us with more tips to achieve successful surgeries.
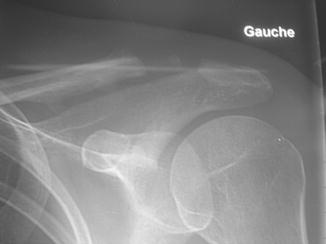
Acromioclavicular osteoarthritis
When it is clinically and radiologically symptomatic, it sometimes requires the resection of the outer ¼ of the clavicle (Figs. 6.1 and 6.2).

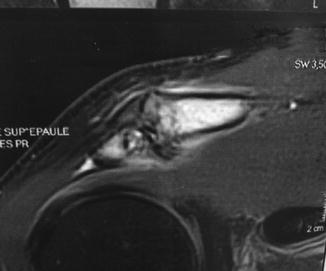
Fig. 6.1
Fig. 6.2
Before starting these less frequent surgeries, it is recommended to perform a mock repetition (we will look at that for the release of the suprascapular nerve) which allows you to reflect on surgical approaches.
For the resection of the outer ¼, we start like for an acromioplasty, but the visual display will be optimized by lateraling the approach for the strong oblique of the scope upward (Figs. 6.3 and 6.4).
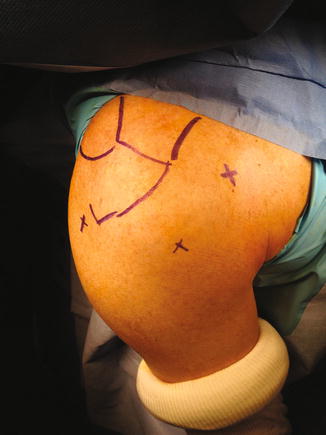
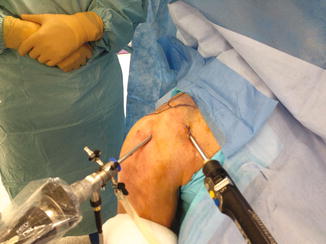
Fig. 6.3
Fig. 6.4
An important tip for the above work approach is to perform it a good distance away at 3–4 cm under the clavicle. This avoids the risk of fistula.
The external optical approach allows a good visualization of the acromioclavicular joint (Figs. 6.5 and 6.6).
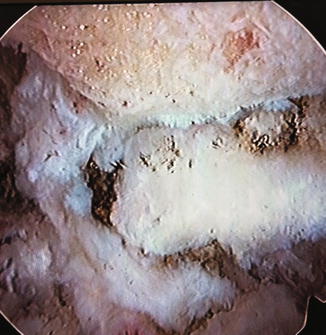
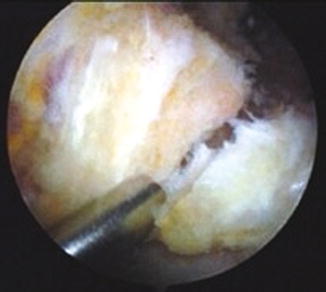
Fig. 6.5
Fig. 6.6
We can begin the resection with the round burr, which is the most appropriate. One of the “tricks” is to hold the clavicle with the thumb, which prevents it vibrating at the same time, which renders the resection tedious. After surgery, we can use our thumb to feel whether the resection is complete.
Fluoroscopic control by the anterior approach ensures that the resection is complete.
Here is the radiological and esthetic result (Figs. 6.7 and 6.8).