PROCEDURE 48 Treatment of Open Fractures

Examination/Imaging
 Emergency management
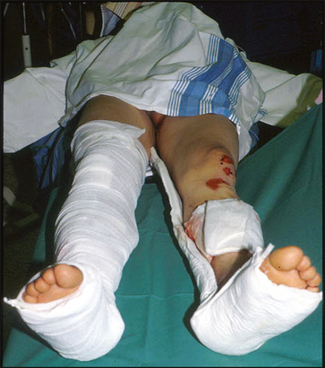
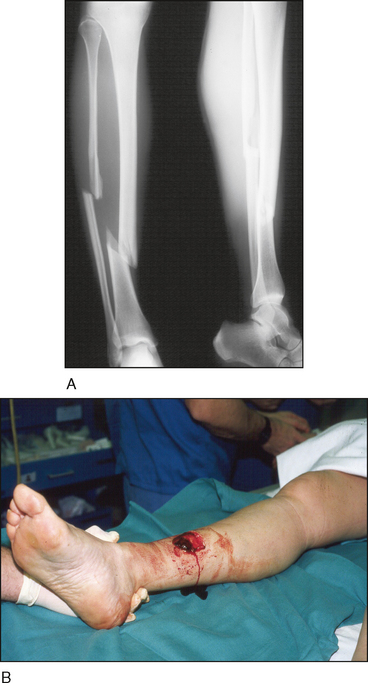
• Emergency treatment must be initiated as soon as possible. This includes intravenous antibiotic treatment, tetanus prophylaxis, sterile dressings, and splinting of the limb (Fig. 1).
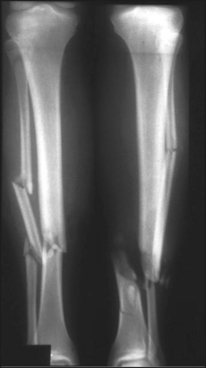
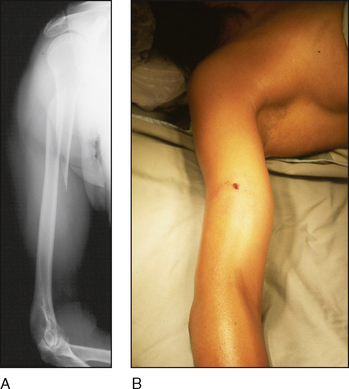
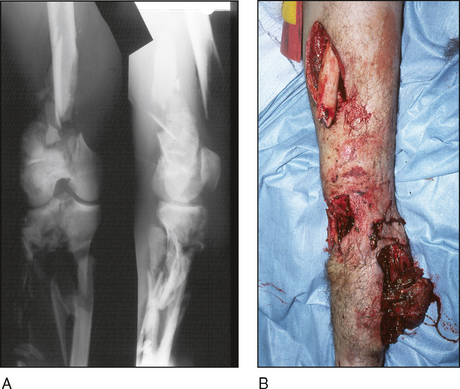
 Standard radiographs (anteroposterior, lateral) of affected limb(s) should be obtained to plan operative stabilization of the injury (Fig. 2).
• Ideally, the patient should be positioned only once to allow for both irrigation and débridement of the wound and stabilization procedures.
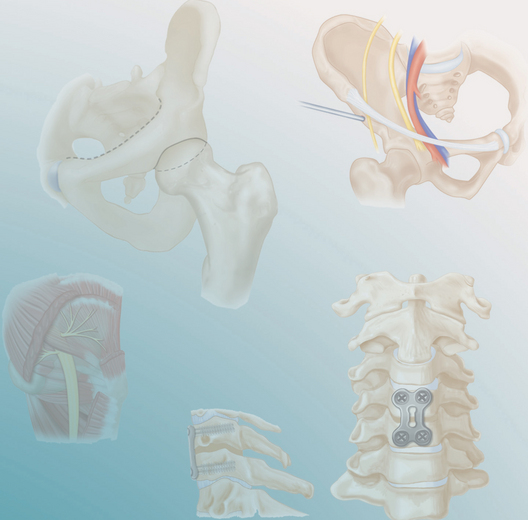
Surgical Anatomy


• The surgeon needs to plan for use of a fracture table or radiolucent table as required. Any fluoroscopy equipment needs to be arranged appropriately in the room before the start of the procedure (see Fig. 6).

Positioning
 Patient positioning should be determined by the location of the open wound and location of the fracture. Most patients can be positioned supine.


Procedure
STEP 1: DÉBRIDEMENT
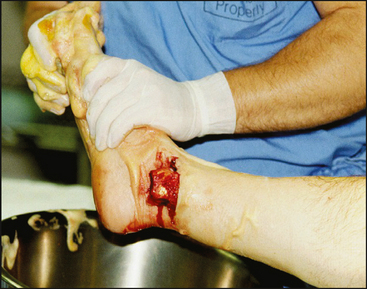
 Prior to formal prepping and draping of the limb, a “prescrub” can be useful to remove gross contamination from the wound and skin (Fig. 7).
 The open wound should be extended proximally and distally until healthy tissue is visualized (Fig. 8). An attempt should be made to incorporate the extension of the wound into the definitive approach for the ultimate surgical exposure.
 The full extent of the injury needs to be visualized to allow a thorough débridement.
• Damaged or devitalized skin edges must be sharply excised to leave a clean and viable skin edge (Fig. 9A).
 When performing the débridement, one should avoid distally based flaps and leave the smallest skin flaps whenever possible.

Stay updated, free articles. Join our Telegram channel

Full access? Get Clinical Tree


